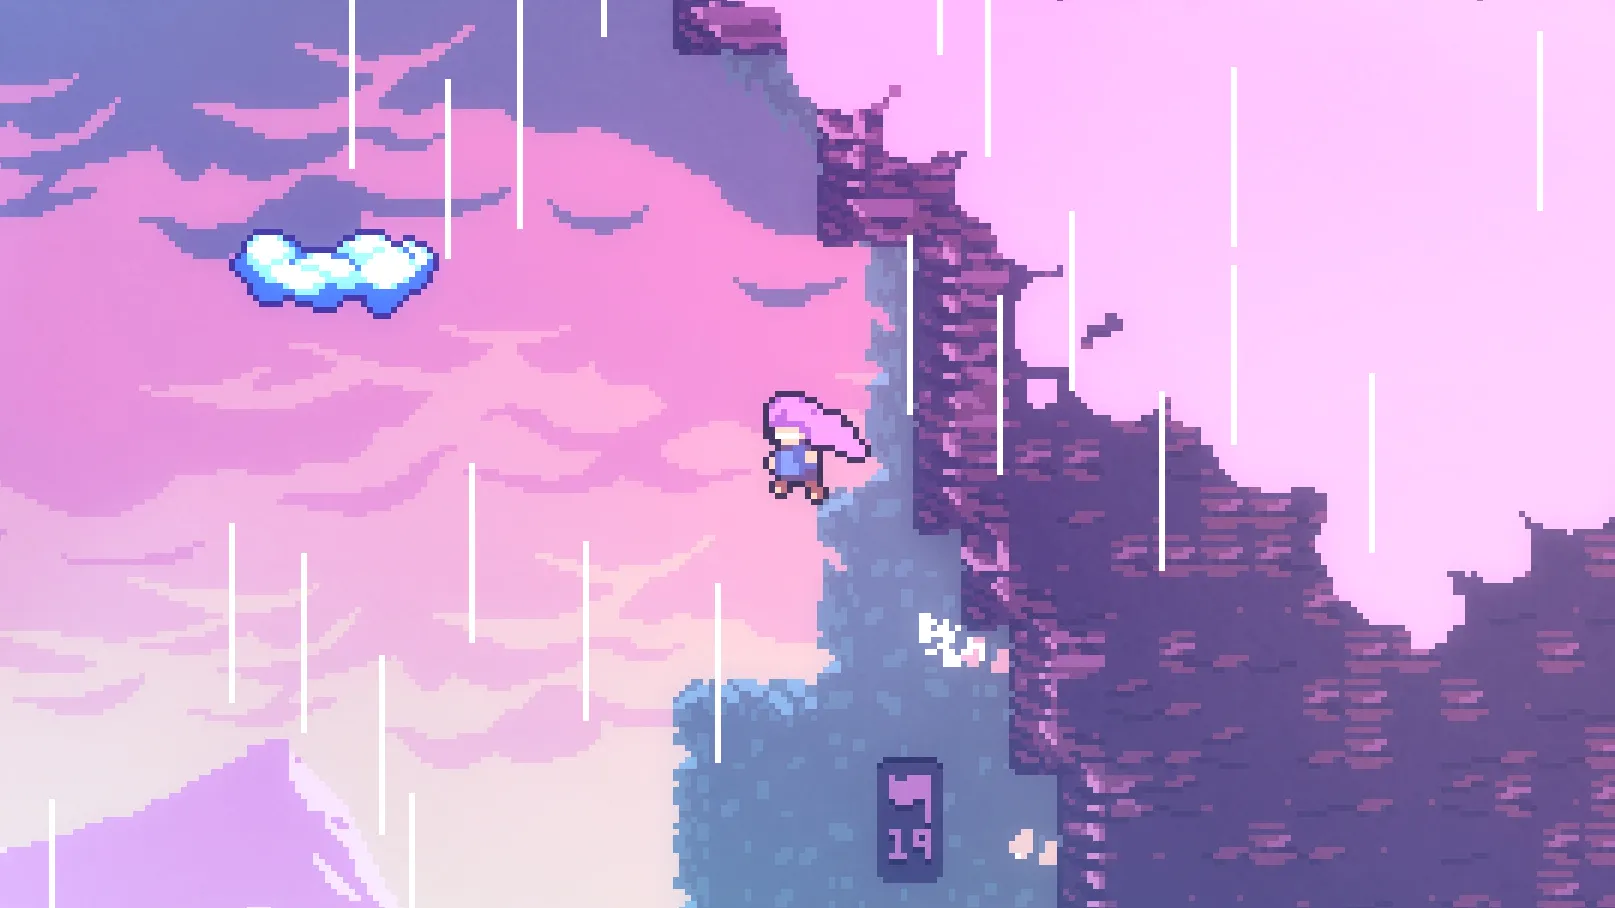
The pixelated, retro-game look is having a real moment — in album art, social avatars, indie game promos, and playful branding. And unlike a lot of design trends, this one is genuinely accessible: you can take an ordinary photo and give it that 8-bit style without any drawing skill at all. Here’s how the effect works and how to get a good result.
What “pixel art from a photo” actually means
It’s easy to assume this is just heavy blurring or downscaling, but it’s a bit more deliberate than that. Real pixel-art conversion does two things at once:
- It lowers the resolution — replacing fine detail with a grid of larger, uniform squares (the “pixels”).
- It reduces the colour palette — snapping the photo’s thousands of subtle shades down to a limited set of flat colours.
That second step is the secret. A simply-downscaled photo still looks like a small photo; it’s the reduced palette that gives the crisp, deliberate, retro-game character. Both steps together are what make the difference between “low quality” and “pixel art.”
The easiest way to do it
You don’t need Photoshop or a plugin. The simplest route is a browser tool that handles both steps for you: you upload an image and it does the pixel reduction and palette limiting in one go. To turn photos into pixel art this way takes seconds — no install, no account — and you can adjust the settings live until it looks right.
Getting a good result: it starts with the photo
The single biggest factor in a good pixel-art conversion is the source image. A few things help enormously:
- A clear, simple subject. Pixel art has limited “space” to describe a scene, so a photo with one obvious subject and an uncluttered background converts far better than a busy one.
- Good contrast and lighting. Distinct light and dark areas survive the reduction; muddy, low-contrast photos turn to mush.
- Tight cropping. Crop to what matters before converting, so the limited pixels are spent on the important part of the image.
Dialling in the style
Once you’ve got a good source, two settings control the look:
- Pixel size decides how chunky it is. Larger pixels = more abstract and retro; smaller pixels = more of the original detail preserved. It’s purely a matter of taste, so try a few.
- Palette size decides how stylized it is. Fewer colours look more like classic game art; more colours stay closer to the photo.
The best approach is simply to experiment — because it happens instantly in the browser, comparing versions costs nothing but a few clicks.
Why it’s worth trying
The pixel-art photo effect is one of those rare style upgrades that looks distinctive and takes almost no effort or money. Whether you want a retro avatar, a bit of nostalgic flair for a project, or just to see your own photo rendered in 8-bit, the whole thing is a two-minute experiment. Start with a clear photo, play with the pixel size and palette, and you’ll have something that looks intentionally, satisfyingly retro.